Easily wrap your mass mailing message in one of the provided layouts that come with Dada Mail. Layouts provide the necessary information for your mailing list message, so you don’t have to: things like making sure the unsubscription link is included correctly in every single mass mailing message you send out. Layouts and Dada Mail’s support for the Zurb Foundation for Emails framework makes your mass mailing email messages look great without any extra work from you.
Layouts can be found in both the Mass Mailing -> Send a Message, and Mass Mailing -> Send a Webpage screen. Look for the row tabs: HTML Version, PlainText Version, Attachments… – the next tab will be labeled, Layout.
Clicking the Layout tab will reveal the layout choices available:
- Full Layout
- Minimal Layout
- For Discussion List Messages
- Don’t use a Layout
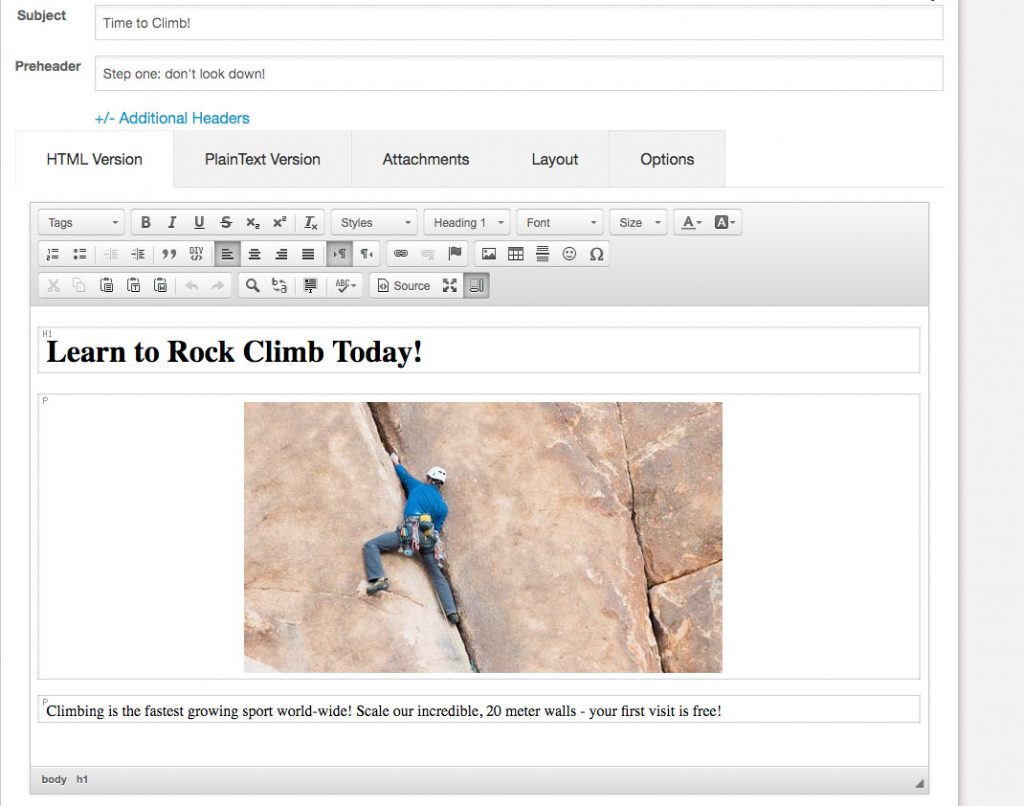
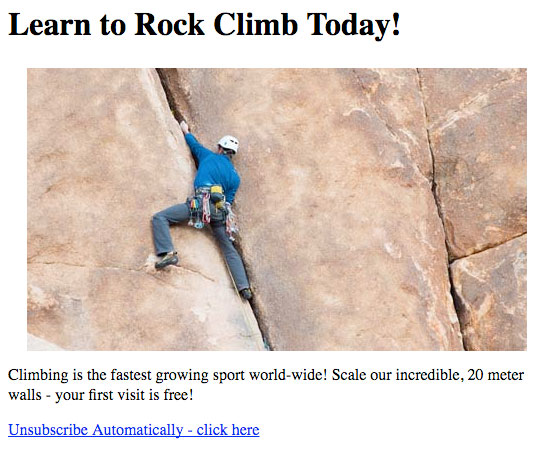
Let’s use a simple email message with a header, an image, and some text to illustrate how these layouts all work. I’ve put together this message as my HTML Version:
Now, let’s see what this message will look like when we apply one of the included layouts. In v10, there’s a new button on the top bottom bar labeled, Preview. Clicking this button will show a preview of your mailing list message in a modal window with your selected layout applied. This saves you quite a bit of time with testing: no need to send yourself test email messages anymore, just to double-check that your email looks good!
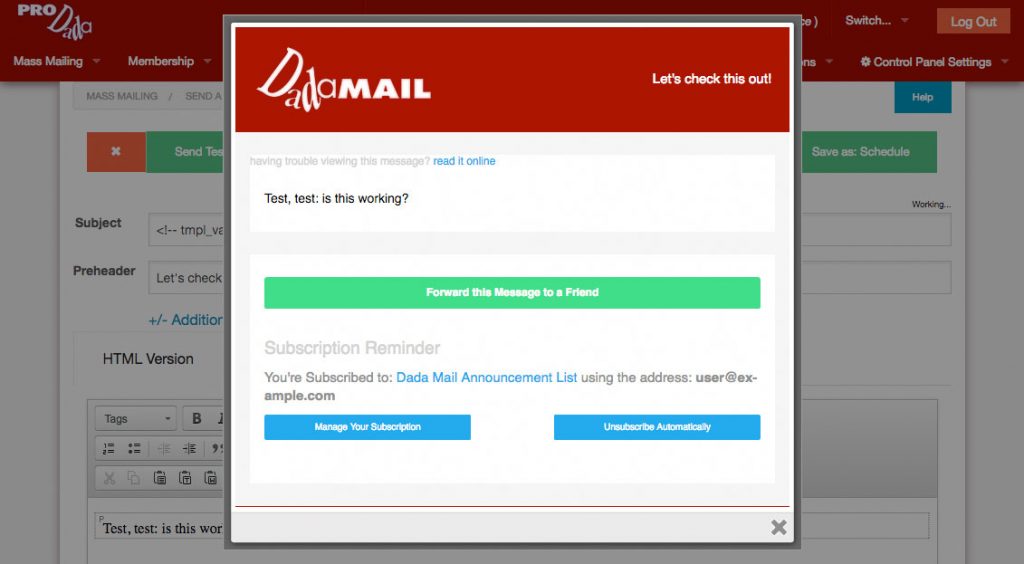
Here’s what our message looks like with the Full Layout applied:
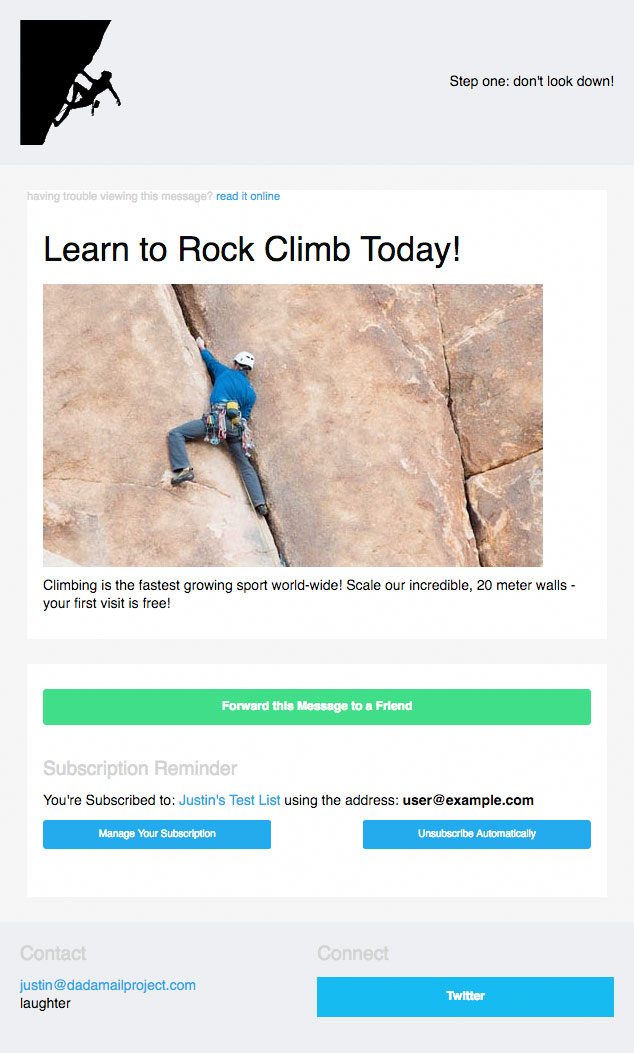
Looks great! With the full layout, we’ve made a simple email message look professional, with minimal effort. Let’s break down what we’re looking at:
The top banner shows our company’s logo (set this in Mailing List -> List Information), as well as the preheader. The preheader will also show up in mail readers as the first bit of text revealed in the email message, like this:
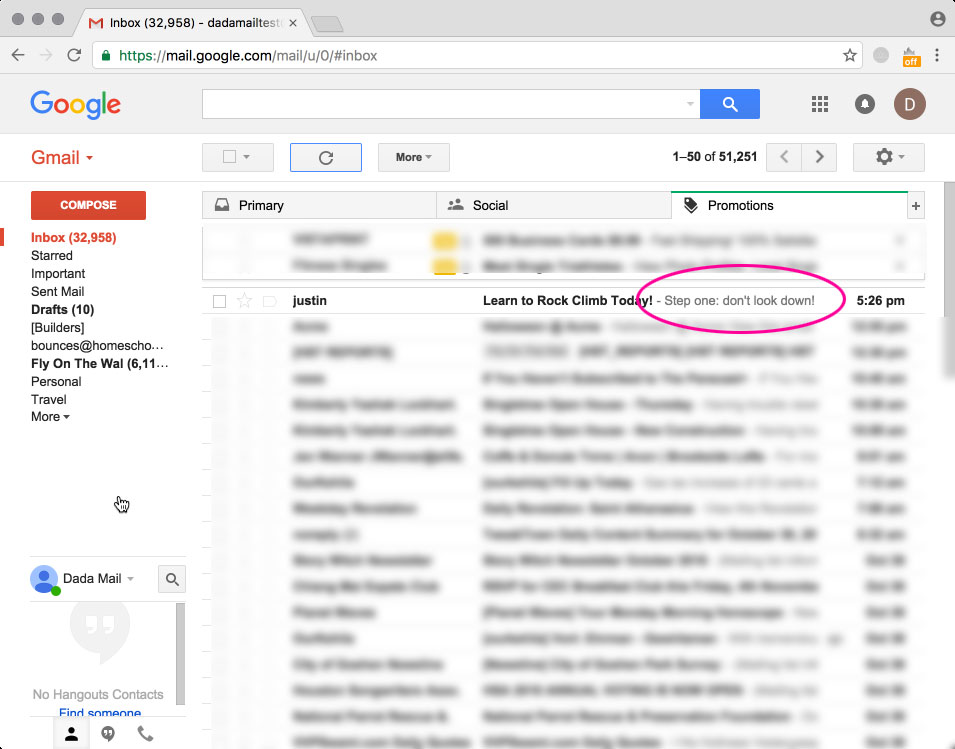
After the banner, there is a small (literally!) line of text, which gives a link to the publicly available archived message, so that if the message below isn’t viewable, you can still see the message from the archive.
Then, there’s your fine message. You’ll notice that the text has been styled to use what’s set in the email theme, so there’s no need to do that while authoring your message in the Send a Message screen (although, you can, if you’d like!)
Afterwards, there is a section that has buttons and links to forward the message to a friend, manage the subscription, and unsubscribe from the mailing list. These links are specific to the individual subscriber. You won’t have to handle this yourself.
Below this information is the message footer, which has contact information, and social networking links. This information can also be added to, and edited in the Mailing List -> List Information screen.
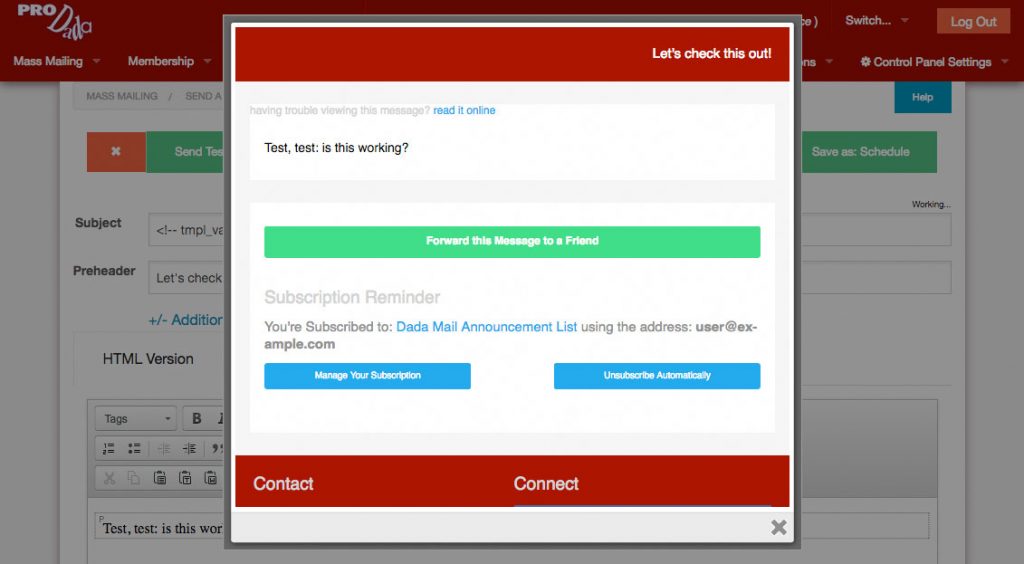
Let’s try the Minimal layout:
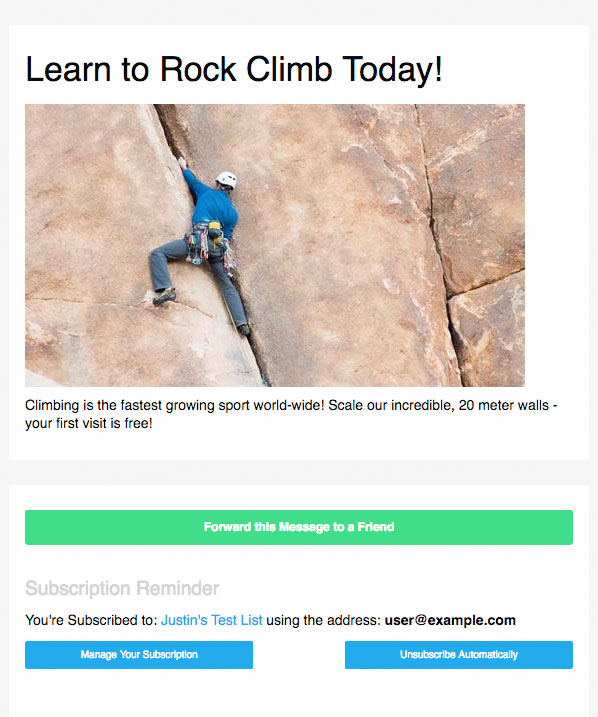
If your main content deserves front and center treatment, this is the template to use. Gone is the top banner and bottom social networking links for a more clean appearance. The unsubscribe link is still present, to keep with mailing list best practices.
For Discussion List Messages is similar to the Minimal layout, but as you may have guessed, is designed specifically for discussion list messages, with a large button to start a new post. This theme is used by default if you’re running a discussion list.
Don’t use a Layout is really the absence of a layout. Let’s try it on the message we have now:
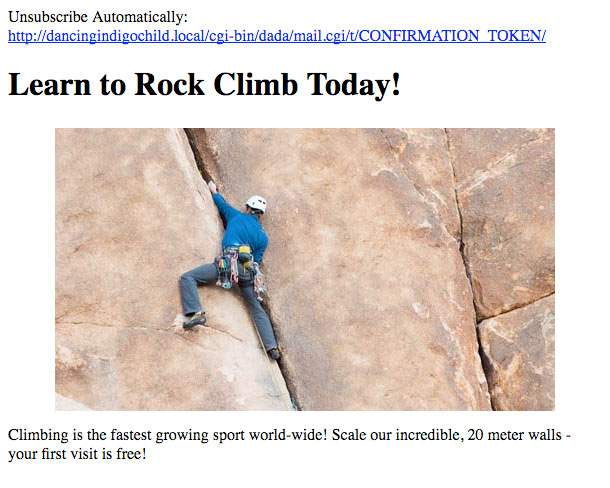
As you can see, no layout or styling is applied. One curious artifact of this is that a unsubscribe link is added to the top of the message, since Dada Mail did not detect one in the mailing list message itself. This is done since Dada Mail enforces the rule that all public mailing list messages MUST be sent with an unsubscribe link. For our message, Don’t use a Layout wouldn’t be the best suggest for a layout, but if you have a full-blown message with its own layout that you don’t want encased in one of the other provided layouts options, this would be a good option choose.
We can move that unsubscribe link from the top, to the bottom of our message by just adding our won unsubcribe link. To do that in Dada Mail, we use the following tag,
<!-- tmpl_var list_unsubscribe_link -->
When the message is sent, this tag will be replaced with an unsubscribe link that is unique to the subscriber and specific mass mailing. Here’s the source of my simple message, with that unsubscribe link added at the bottom:
<html>
<head>
    <title></title>
</head>
<body>
<h1>Learn to Rock Climb Today!</h1>

<p style="text-align: center;"><img alt="" src="http://dancingindigochild.local/dm/dada_mail_support_files/file_uploads/images/climbing(1).jpg" style="width: 500px; height: 283px;" /></p>

<p>Climbing is the fastest growing sport world-wide! Scale our incredible, 20 meter walls - your first visit is free!</p>

<p><a href="<!-- tmpl_var list_unsubscribe_link -->">Unsubscribe Automatically - click here</a></p>
</body>
</html>
Now when we preview the message, the automatically inserted unsubscribe link is gone, leaving only our link:
So that’s an introduction to layouts! What’s your take on layouts, have you found them useful for your own mass mailings?