New to Dada Mail v10.4.0 is the ability to upload images right into the Rich Text Editor you’ll find in the Send a Message screen just by either copying and pasting the image from a graphics program, or just dragging and dropping an image from your computer’s file manger. Check out the above screencast to see how.
These two new methods make things a whole lot easier to add images quickly, without having to use one of the web file manager that are also bundled with Dada Mail. These methods also work in adding documents to your message too – Say you have a PDF document you’d like to upload and link into your message. Just drag and drop the document itself: the file will be uploaded and a link will be automatically created.
Below, we’ll guide you through the individual steps on how to do this yourself, and go into how to work with the other method of uploading/selecting/inserting an image: one of the bundled file manager. All these techniques are available in v10.4.0 – we didn’t remove the file managers, to make you rely on the copy/paste or drag + drop methods, so don’t worry if those are already deeply seated in your own workflows.
We’ll begin in the List Control Panel of a mailing list, in the Send a Message screen. Under the HTML Version tab is the rich text editor, that allows us a space to write out our message. Make sure you’re running v10.4.0 of Dada Mail (or later), these directions will not work on a older version. Good reason for an upgrade!
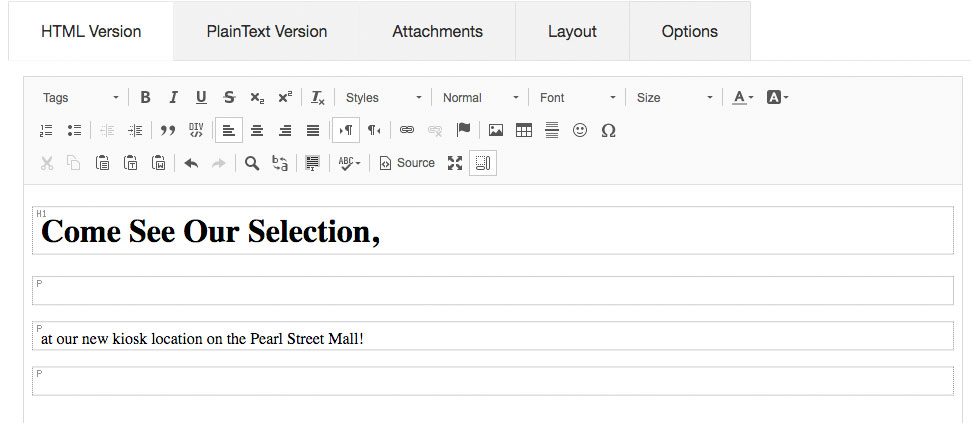
I’ve started a message, but now I’d like to add an image. I have an image already open up in the Preview app on my Macbook. I don’t want the entire image to be part of my message, so I’m going to select just a part of the image and copy that part into my clipboard.
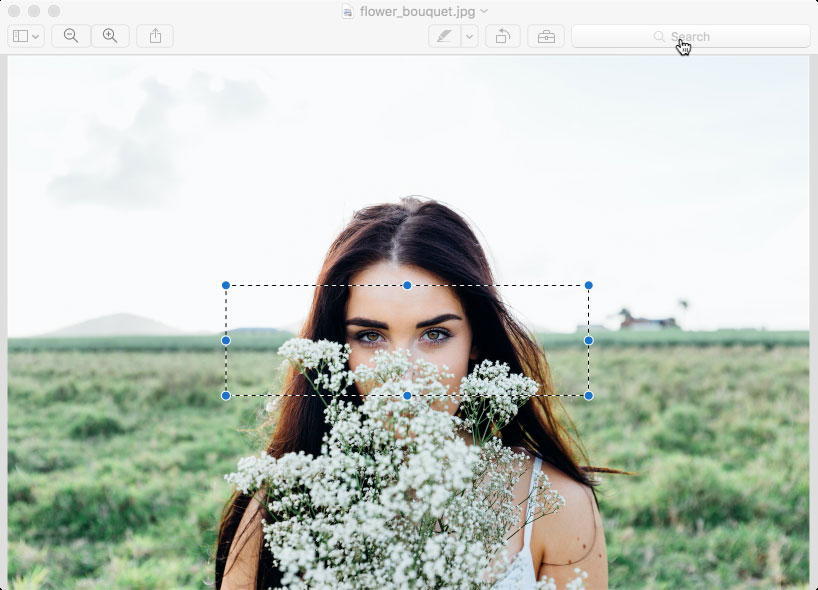
We’ll select just that, and copy it,
Back in the Send a List Message screen, all I’ll have to do is paste the image in,
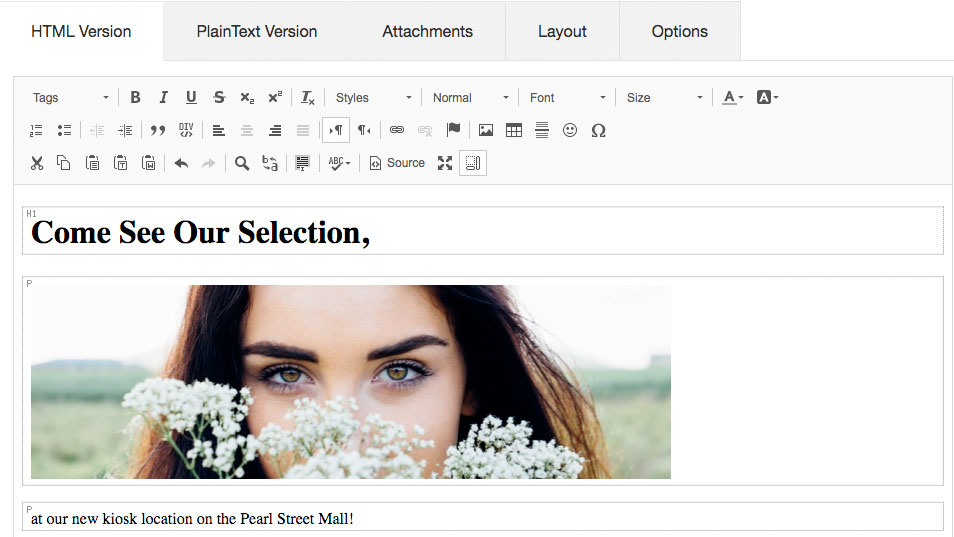
And there it is! I’ve successfully selected a portion of the image, copied it from the Preview app, and pasted it into my message. I could have also pasted the entire image this way, too. The image I did paste in was pretty large – larger in file size, as well as image width that’s really need for an email message. So, Dada Mail automatically converted my image to a smaller width/filesize, so I wouldn’t have to myself, saving me the trouble I might have gotten into had I sent a gigantic image to each person on my mailing list.
The auto-resizing option can be controlled. In the list control panel for your list, go to, Mass Mailing: Options. Uncheck the option labeled, Resize drag-and-drop images, and Save. This option itself requires the Perl CPAN module, Image::Resize to be installed and available. If your hosting environment doesn’t have that, you can use CPAN to install it for you, either individually, or by installing the Bundle::DadaMail module. The latter will install all the optional modules that Dada Mail can take advantage of, for lots of advanced features.

If opening up an image in a separate app, copying it, then pasting it into the rich text editor is too much bother, try simply selecting the image in your desktop computer’s file manager, and dragging it into the rich text editor – this will also upload the image, resize (if necessary), and embed the image in your message, ready to be sent out.
The final way to add an image to your message in Dada Mail that we’re going to cover is to use one of the bundled file managers that comes with Dada Mail. Look in the toolbar of the rich text editor for a icon labeled, “Image” – it has a very simplified picture of a mountain/sun:
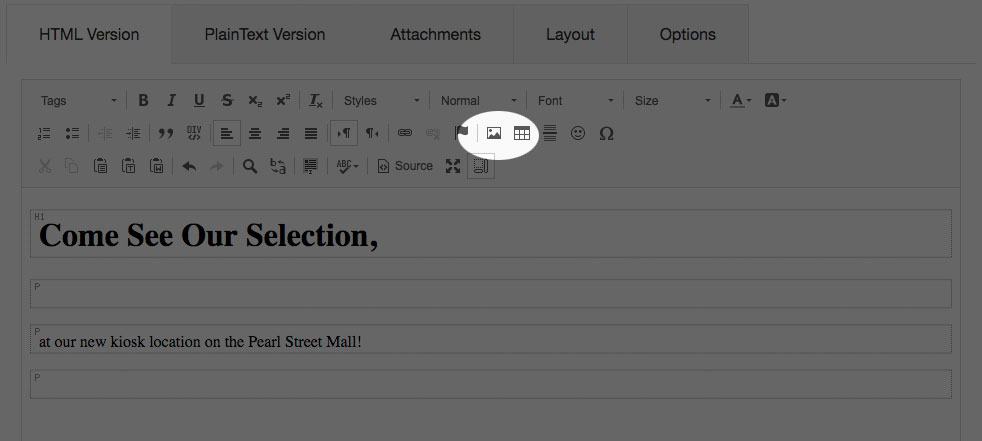
Click that icon, which will open up a modal window. (The workflow here is not as streamlined as we’d like, but follow these steps, and it usually works out great): Find the button labeled, Browse Server and click it,
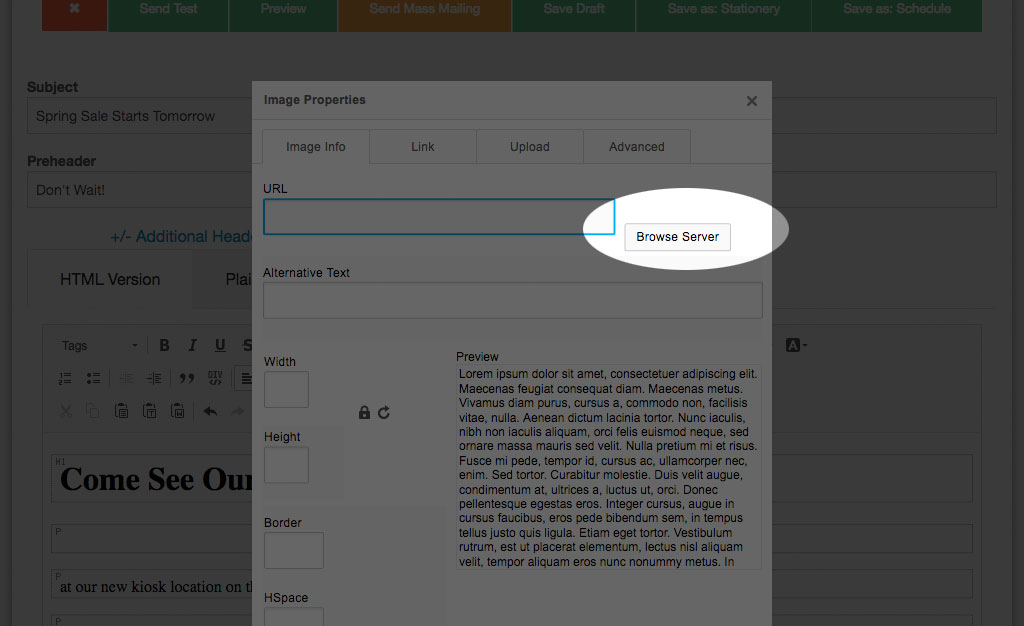
This will open up the web file manager. In this walk through, we’re using KCFinder, which is the default option – you can change this option in Dada Mail’s bundled installer. Find the button labeled, Upload, and click it.
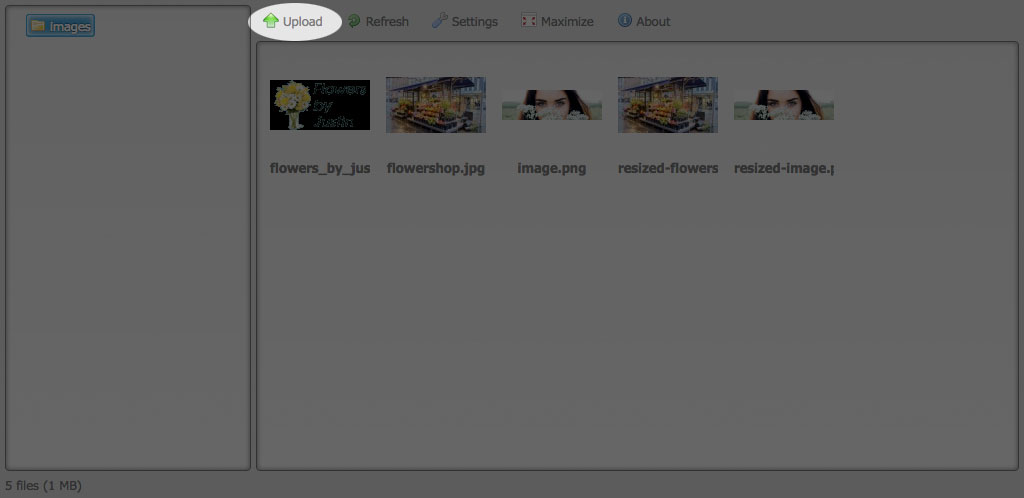
This will open up a file browser on your local computer, where you can select an image to be uploaded. Selecting the file will begin the upload, and once the upload is completed, the file will be available to be selected.
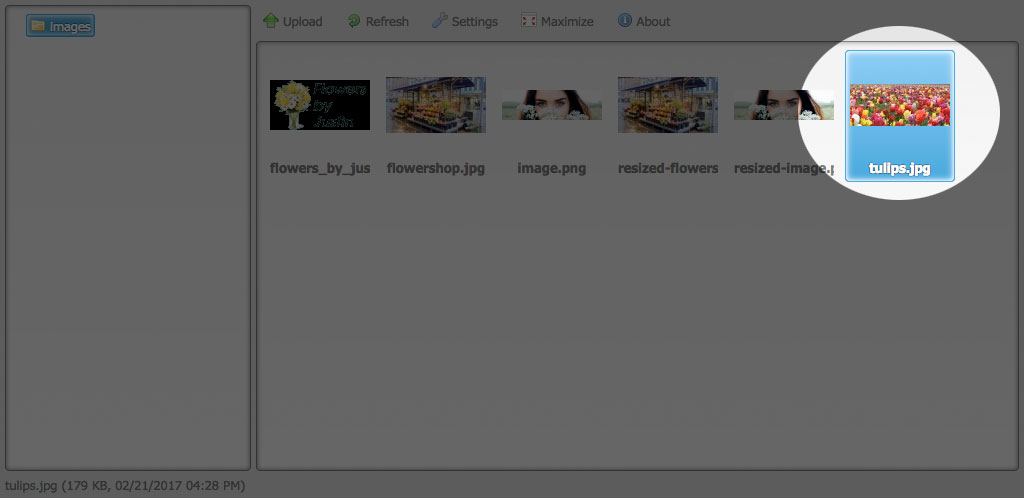
Double-click/tab the image you’d like to add to your message. The web file manager will close, revealing that modal window once again, with your image added to a preview. Optionally fiddle with the parameters for your image, then click, OK,
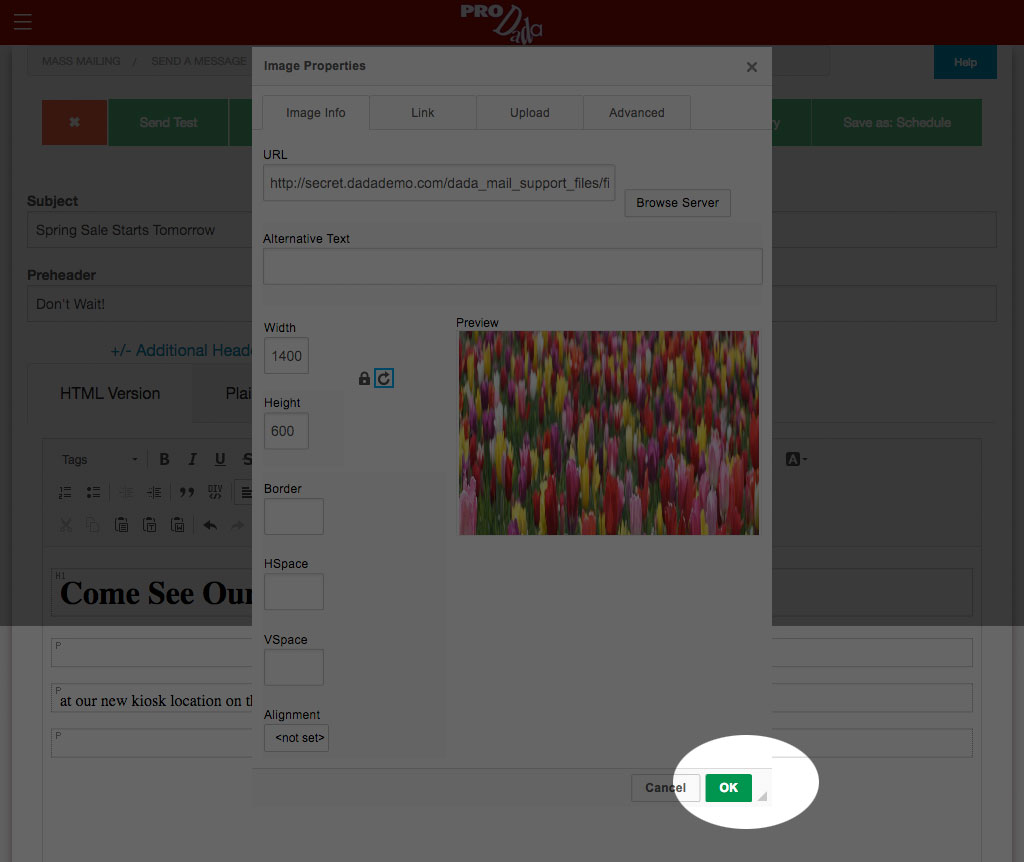
The modal window will disappear, leaving you back to your rich text editor, with the image added.
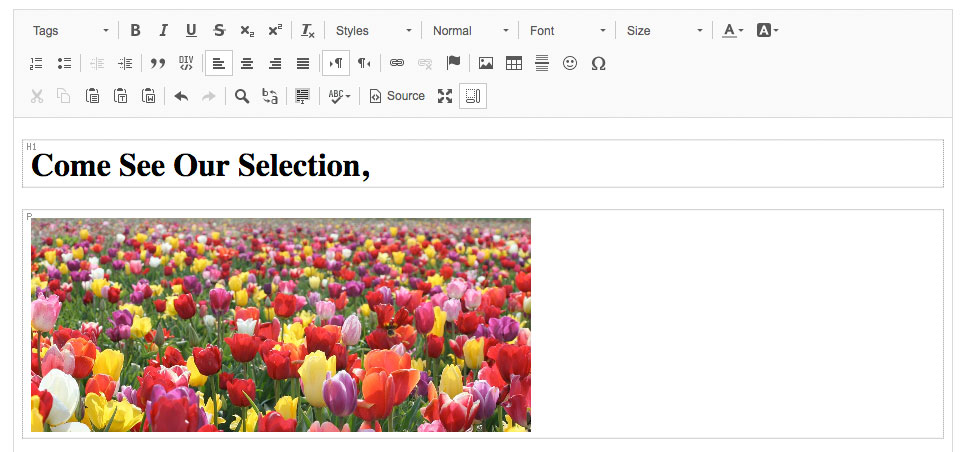
Hurray! Using the web file manager is a few more steps, but does allow you a little bit more flexibility. One thing you want to make sure of though, is that you do not insert an image that’s far too large in file size to really be a good idea for an email message. Since images are embedded by default into the email message source itself, every one of your subscribers will need to download a copy of the image when they receive the message itself. Something to be mindful of.
So that’s it! That’s three easy ways you can add images to your Dada Mail messages.
