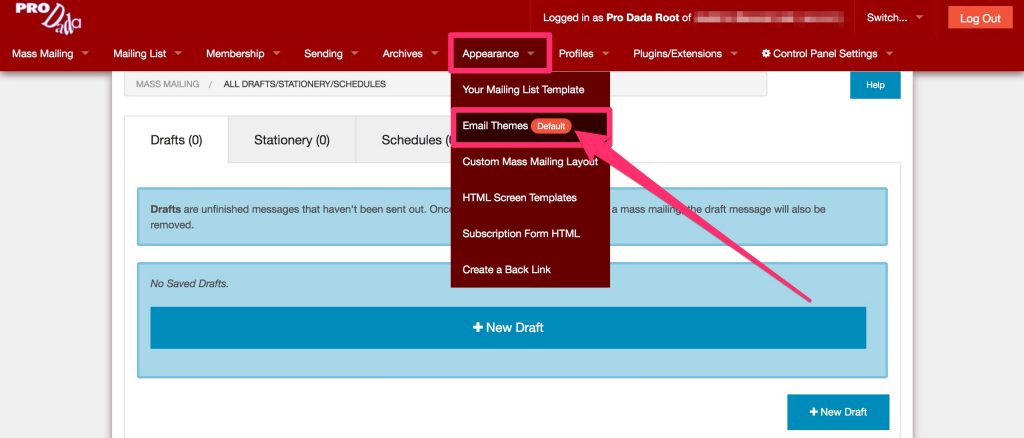
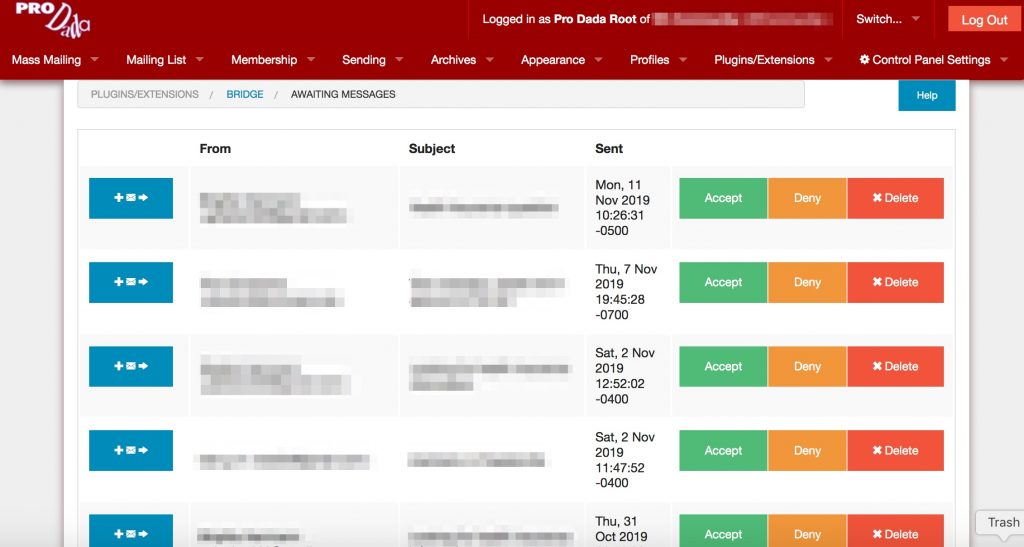
Bridge Announcement List and Authorized Senders Enhancements
The Bridge plugin allows you to send messages with Dada Mail through your mail reader without having to log into Dada Mail’s own list control panel – both for Announce-Only, and Discussion Lists,
You can set up a list of Authorized Senders who, along with your List Owner, are allowed to send messages to your mailing list. Your Authorized Senders won’t need to log into your mailing list list control panel.
We have added several features to allow you to send more effective announce-only messages through Bridge:
Rewrite From: Header Correctly
The first change we’ve made is actually a bug fix. One way to run your announcement list utilizing Authorized Senders is to rewrite the From: header, so all messages sent to your mailing list use the List Owner in the From: header, no matter what Authorized Sender sent the message.
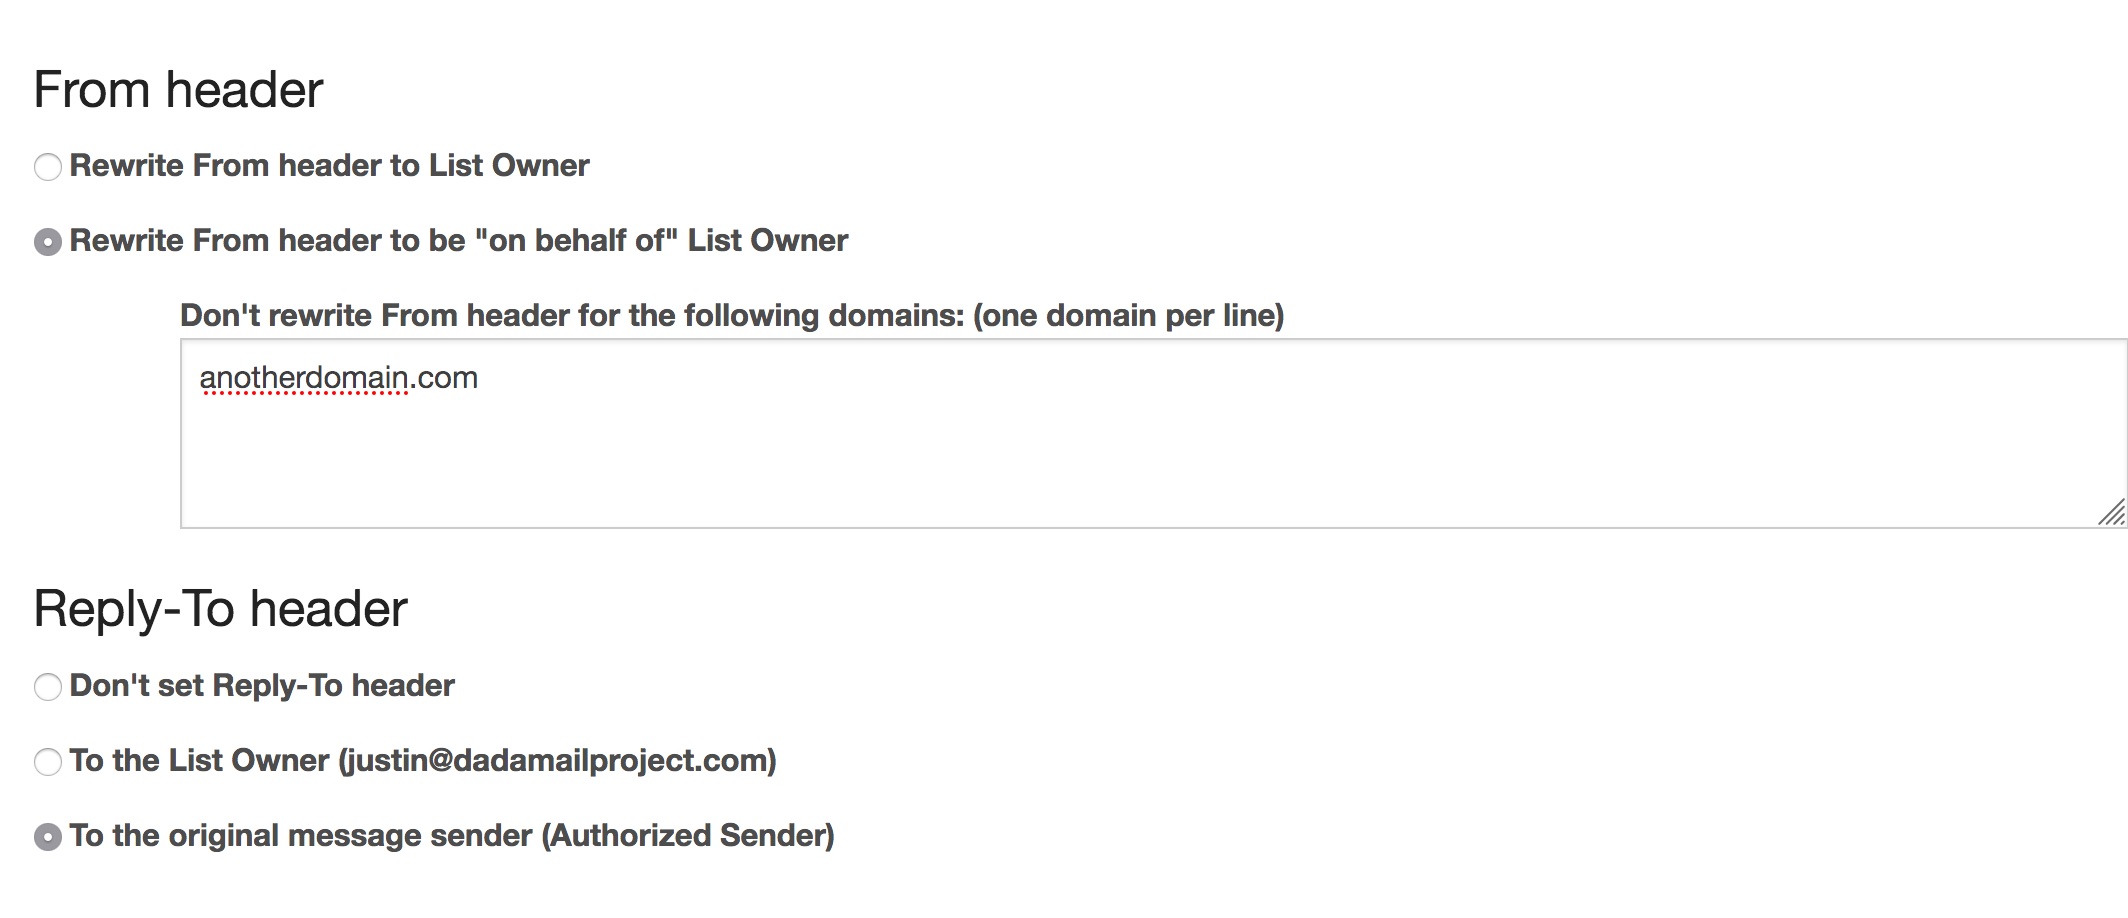
Look for the radio button labeled,
Rewrite From header to List Owner
in Bridge
Another option available is to preserve the original From: header so that any replies go to that address, rather than the List Onwer. The issue was that the From: header wasn’t correctly managed to deal with DMARC restrictions.
Say you have an Authorized Sender that’s using a Gmail account, and you’ve set up your mailing list to send using your own SMTP server. Sending a mass mailing from your own server with (for example) a Gmail address in the From: header won’t work. You’ll need to instead send the message “on behalf of” the original sender, just like we do for discussion lists. In past versions, this wasn’t happening, and in v11.7- it now is. Rejoice!
Look for the radio button labeled,
Rewrite From header to be “on behalf of” List Owner
in Bridge.
Don’t rewrite the From header for email addresses from certain domains
We’ve also added an option to list domains that you would not like this rewrite to happen, just in case your mail system has already allowed certain additional domains to be sent through it.
Look for textbox labeled,
Don’t rewrite From header for the following domains: (one domain per line)
Set the Reply-To: header
The ability to set the Reply-To header to the List Owner or the original sender (or no one!) has been kept, even though the From: header need to be sent “On Behalf Of”.
Mention the original sender
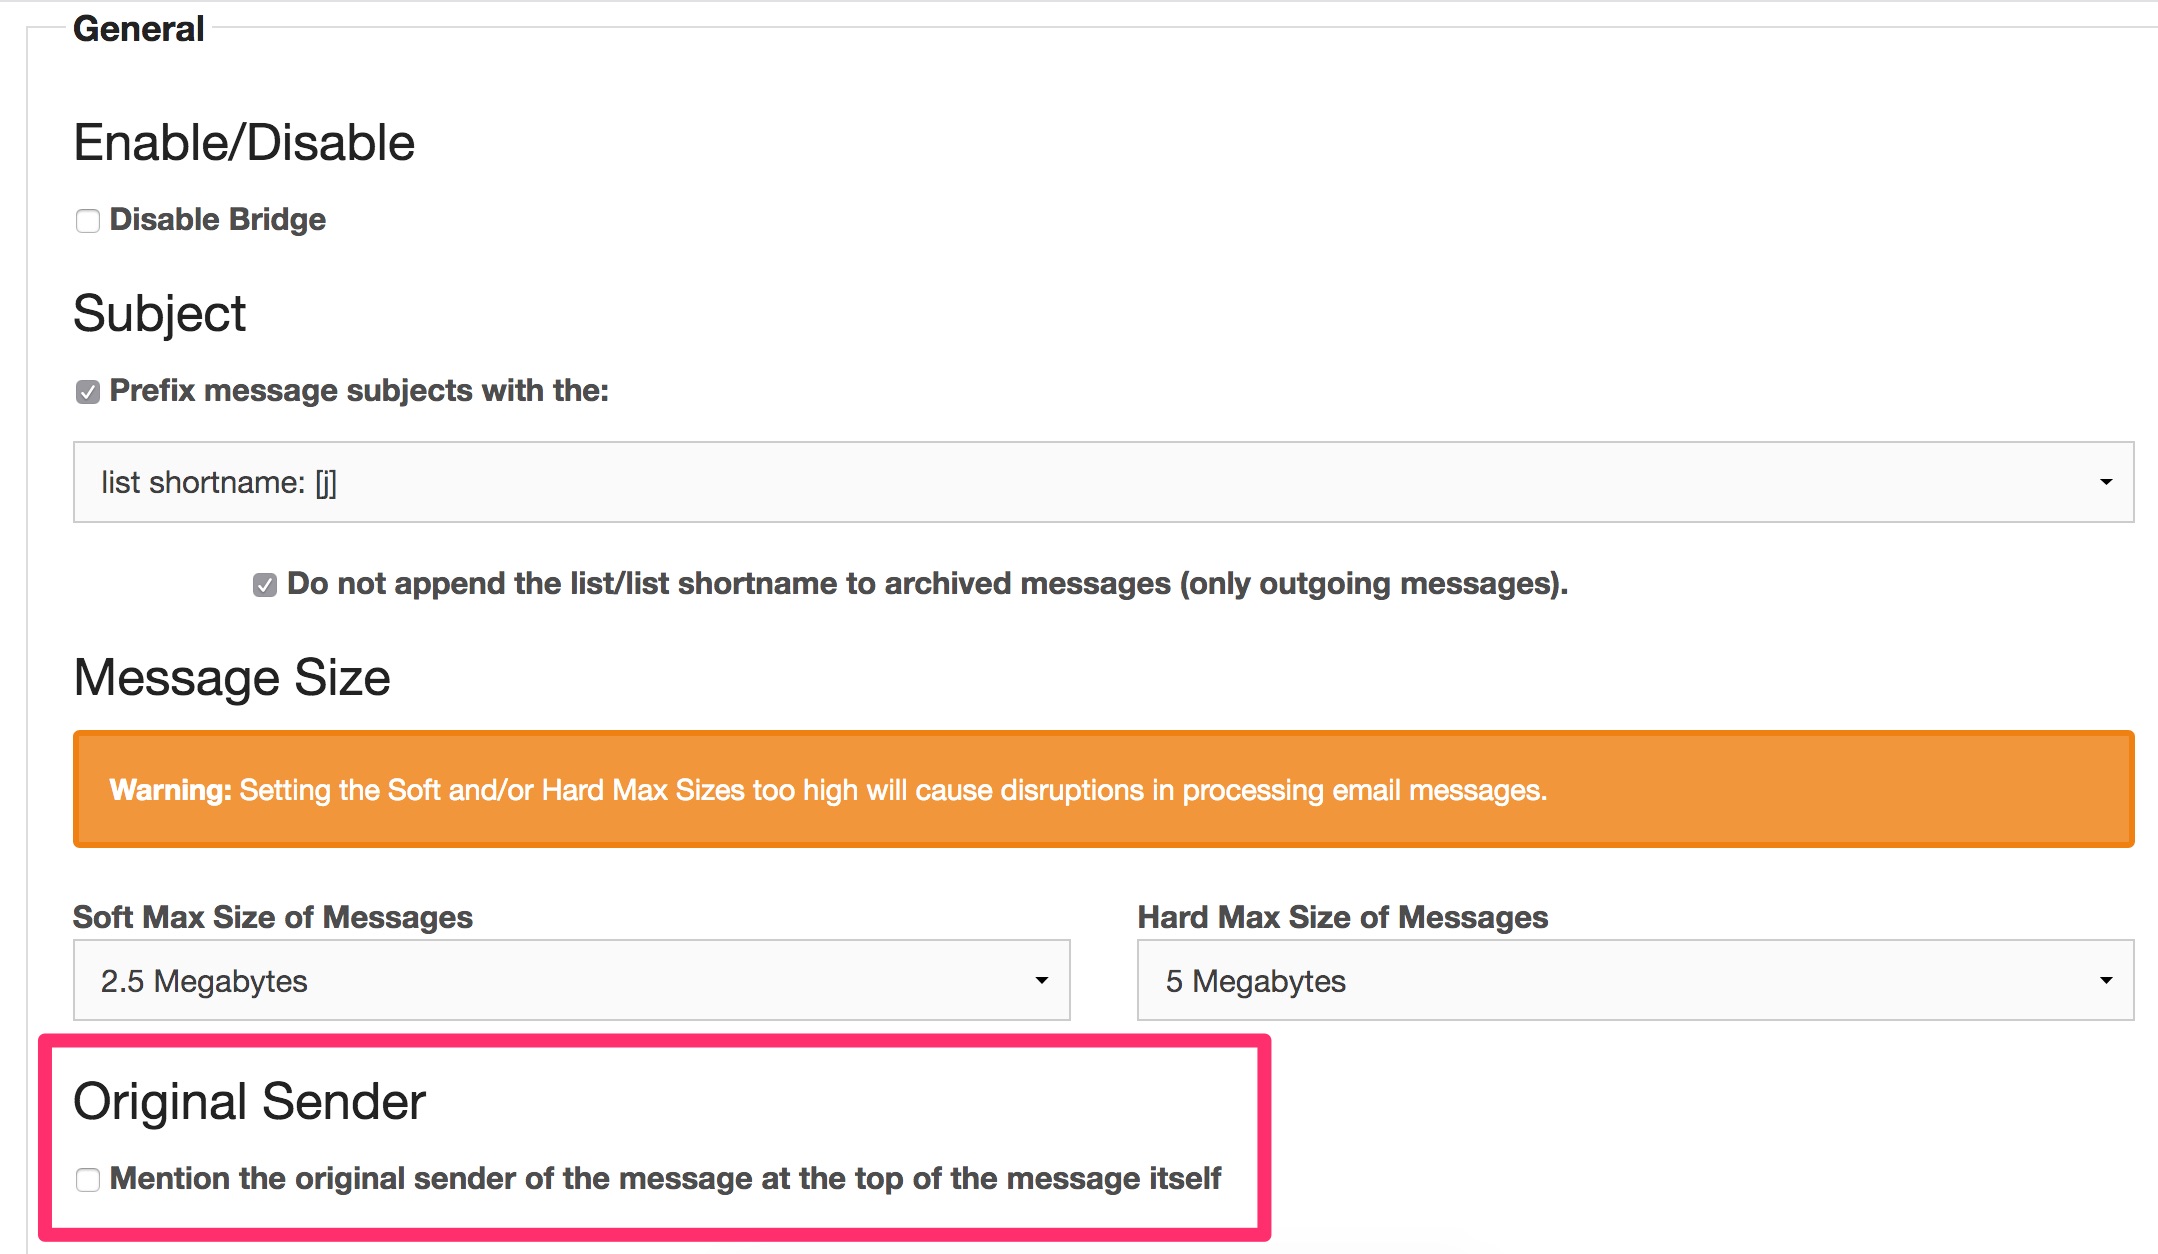
Similar to what you’re able to do already for discussion lists, you can now set your mailing list to mention who the original authorized sender was, who sent the message. This option can be enabled (default) and disabled in Bridge for both announce-only and discussion lists. Look for the checkbox labeled:
Mention the original sender of the message at the top of the message itself
in Bridge.